Showing posts with label Skirt. Show all posts

Wednesday, January 26, 2011

Pretty in Plaid: Link Party Feature Plus Another Clothing Makeover

So the Link Party wasn't a smashing success. I still hold out hope, though. I would like to make it a regular feature here, so please let me know in the comments if you would actually participate. Remember, Link Parties are a great way to cross promote your blog and find new favorites.


Emma from Flytape was lovely enough to share her recent makeover of a side-of-the-road-find. Check out the transformation:


She made this pillar a great place to keep her laptop!

I also love Emma's other projects, like...

Bottle cap Catcher

Watchband Makeover

Christmas Lights Ball


 Head on over to Flytape and get to know her!


Pretty in Plaid


Oh yeah, rockin' a plaid jumper. The label says it's a "Ty Original"... sorry Ty, there's nothing original about a plaid jumper.

I am diggin' the plaid, though. So I think I'll just make it over.
First to go are those pockets.


Then a cut just above the waist to sever the bodice (I'm keeping this and it may make an appearance later)


The skirt portion is split on both sides and fringed at the bottom (who says a 3rd Grade Teacher can't be sexy?), and that's gonna go.


I cut some 4in. strips from a black lining fabric...


Made some bias tape from a piece of the fringed bottom...


and put the two together...


Next I did the ruffle shuffle...


and sewed it in place at the bottom edge.


After some elastic at the waist, I have a new skirt.
I really must pay more attention to those threads BEFORE the picture is taken. LOL

Sunday, December 19, 2010

Giving a Plaid Skirt Some Punch

If it wasn't for Thrift (second-hand) stores, I might just sink into a Post-Yard Sale Season depression. I do love a good deal.

I found this beauty recently.


Not so flattering, eh? Yep, it's a full-length, red plaid, wrap around skirt...about 2 sizes too big. Believe it or not, the fact that it reminded me of a blanket actually was a selling point for me (it's cold here in Michigan!). However since I didn't want it to remain blanket-like in appearance, I cut off the plaid dreads going down the one side.


and a quick flip and stitch to keep that edge from raveling...


Next I shortened it to just below my knee (in hindsight I should have cut it just a little shorter, but I was winging it).

Then took it in on each side.
It's pretty much fully lined... how awesome is THAT!?


Now that I had my basic skirt, I wanted to spice it up a little bit. So I cut a nice curve in the front panel.


I don't have a serger, so I finished the edges with a zig zag stitch.


Now as to the extra fabric I cut from the length... I cut the strip in half length-wise, then sewed a hem in one of the strips (the other still had the original hem) and finished the raw edges with a zig zag.
Zig zagged edge                                   Hem        


Sew these two strips together, and I could make a ruffle trim.


The last step was to pin the ruffle on and just stitch it down.


Fin


Thursday, October 21, 2010

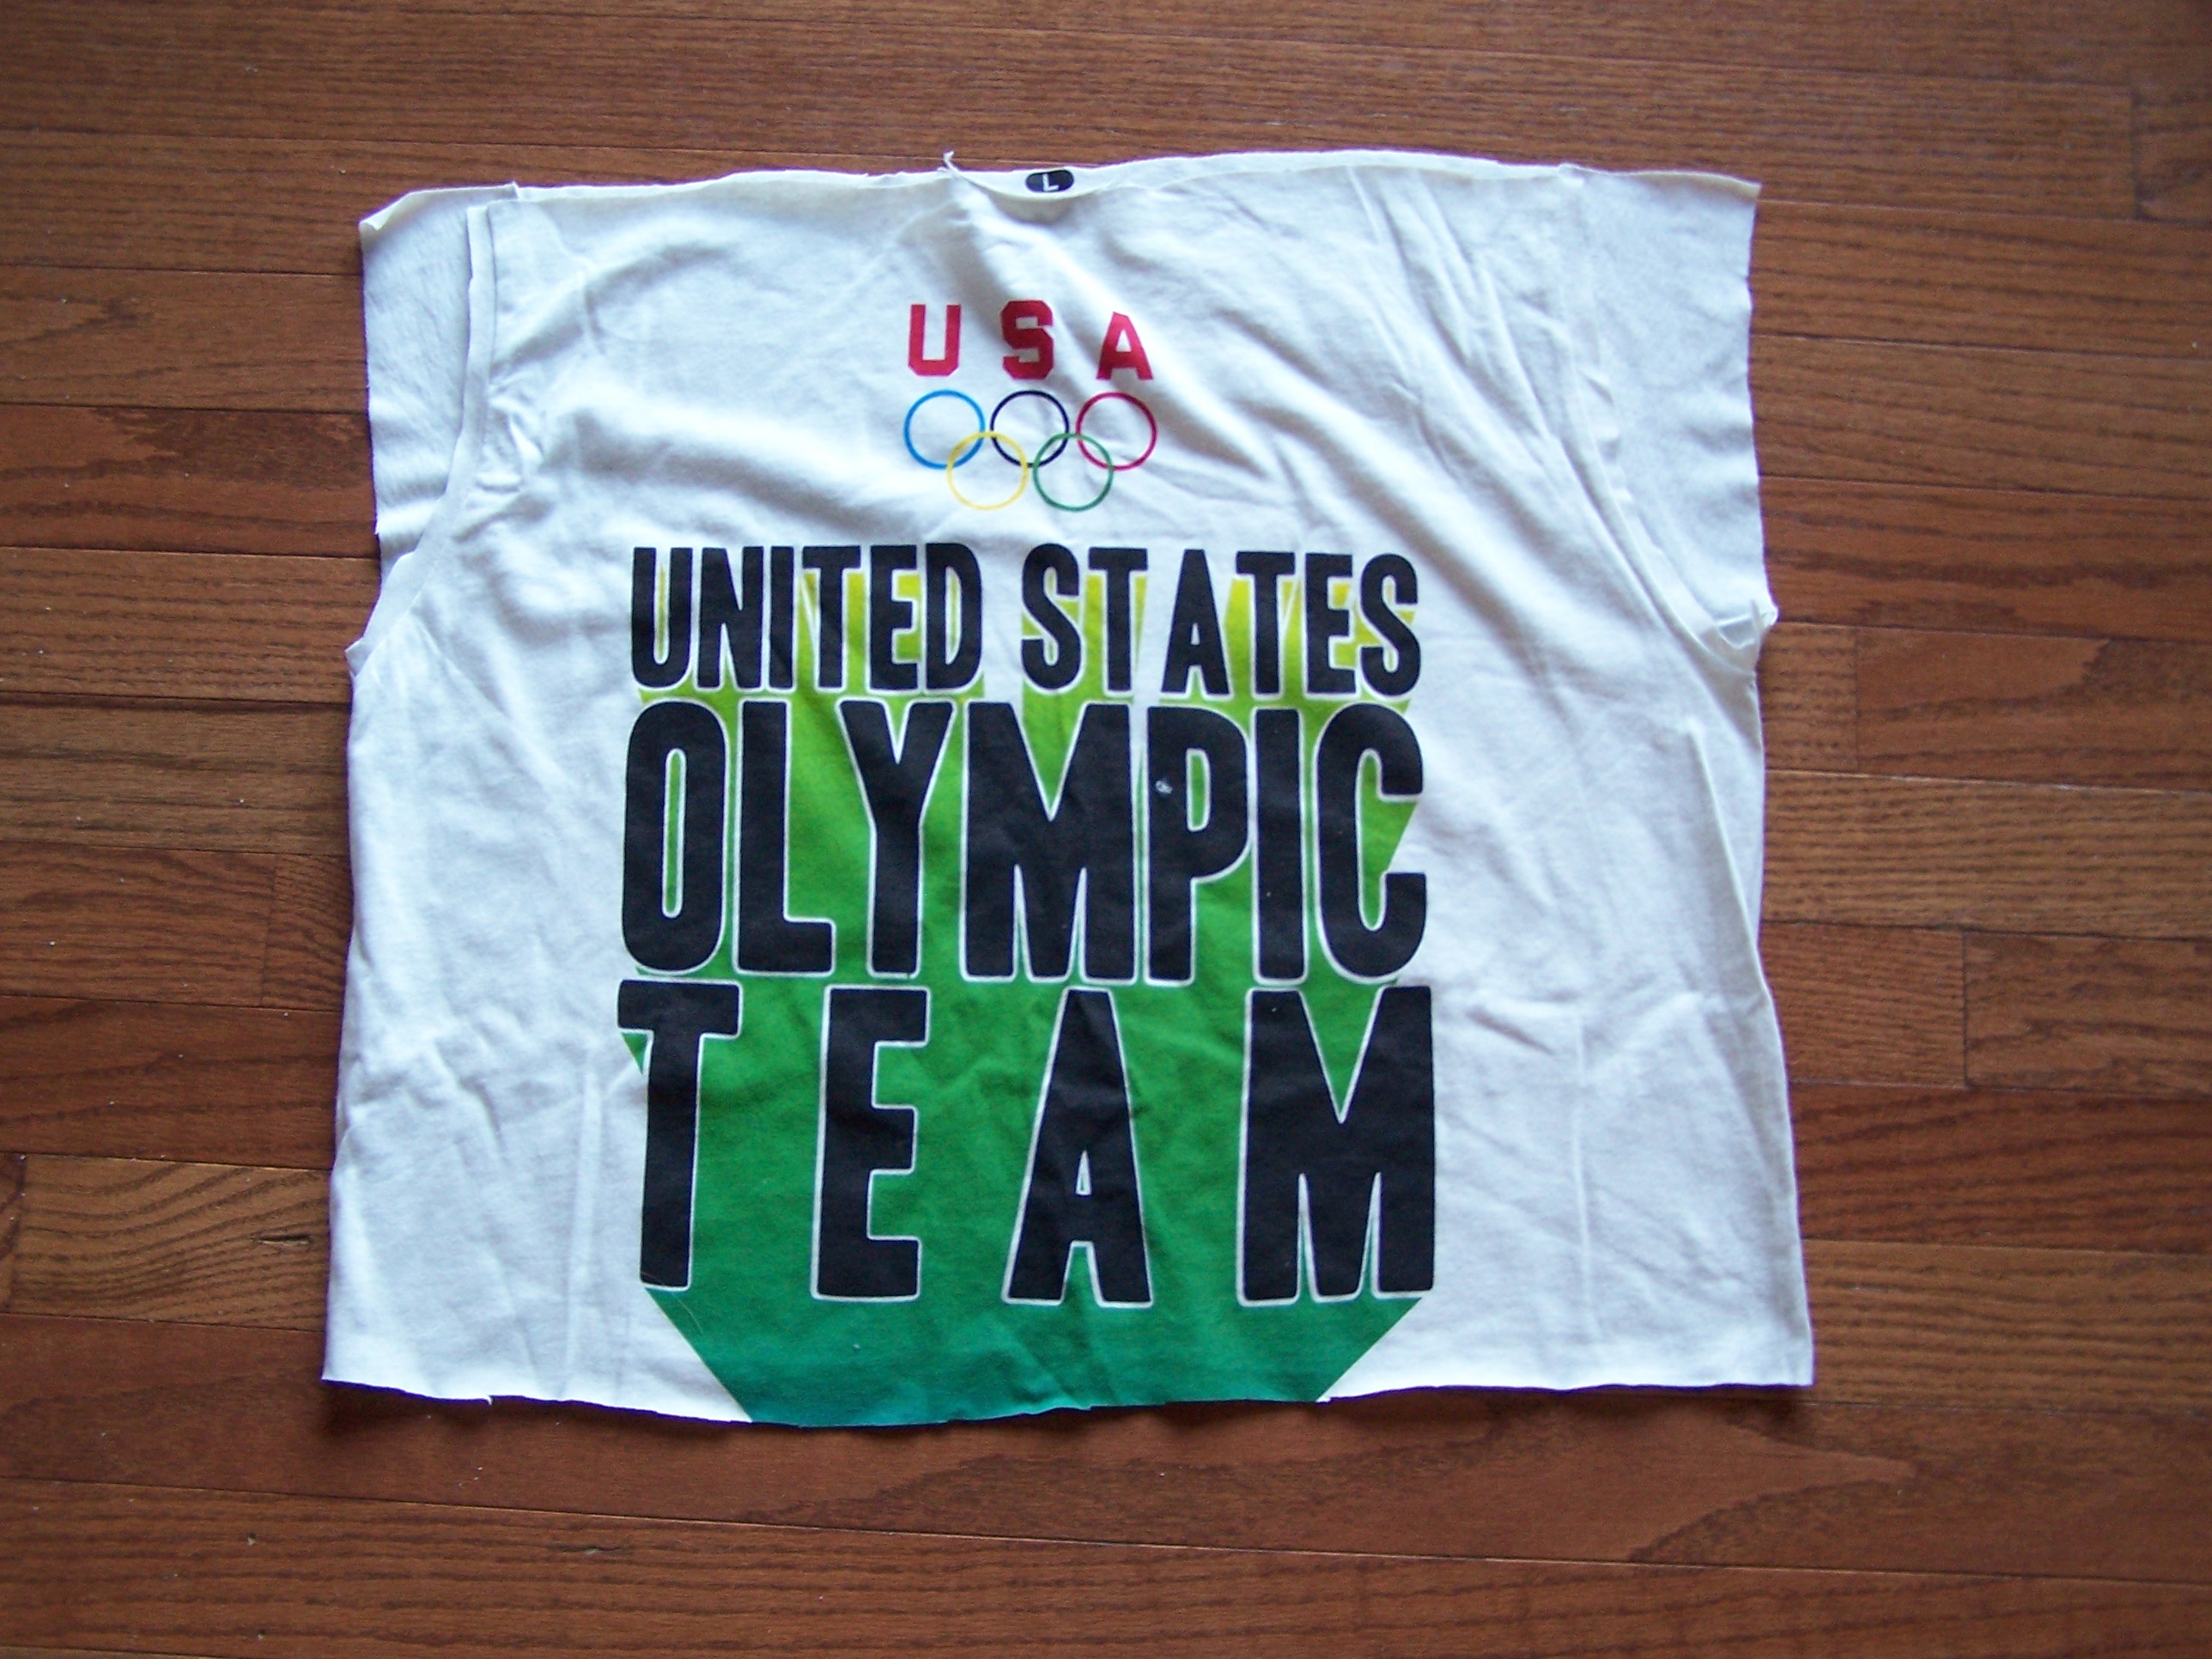
Shirt to Skirt Tutorial: The Fourth and Final Olympic Tee

The second off-white olympic tee is in for a completely different use... and I think it's my favorite! We're going to cut, sew, and add a little embellishment to turn a so-so top into a cute bottom (and we all want a cute bottom).

1.) Cut the Sleeves off keeping it in alignment with the sides of the shirt.

2.) Cut the shoulders to form a straight line at the top.

3.) Cut the bottom to the length you want your skirt, plus an inch (add more if you will be making a casing for your elastic).


4.) We're going to make some easy (What? Yes, I said easy!) pockets using the front half of the sleeves. Cut only the front portion of the sleeves about an inch from the curved seam, then fold inward and stitch down.


5.) On the piece you cut from the bottom, cut in half at the sides. You will use one piece to make your pockets.


I'm not entirely sure which is best... sewing the piece on now, or after you embellish. Here's what I did:

6.) Sew one piece to the pocket-front, stitching across the top/waist.


7.) Flip the piece to the inside of the skirt and stitch across the bottom edge, and then down the center. Easy pockets!


8.) Sew the open side seams together-Right-Sides together, of course.

9.) Now for the fun part... embellishing! Using some coordinating lace or trim, make patches to cover the silk-screening.


The Black Lace I was planning on using was a little too see-through. So I cut patches from leftover pieces, to go with the lace.


10.) When you are satisfied with your arrangement, sew your patches in place.

*** This is where I am torn about making the pockets prior to embellishing. If I waited to make the pockets I would have had the straight stitching lines running through the patches. However, since I made the pockets first, I had to arrange the patches so as not to sew the pockets shut.

If you opt to embellish first, at this point you would sew in your pocket panel using steps 6 and 7.


11.) Hem the Waist and Bottom edge of your skirt, and add your elastic. I chose to use the shirring technique as I did in the second Blue and Black Skiing shirt.


There you have it. A really simple skirt with pockets.

Thursday, October 14, 2010

No-Sew Tutu

Does it really need more of an explanation?  A tutu is a costume favorite, but you don't need to buy one... you can make it yourself with no sewing knowledge whatsoever.

You Will Need:

  • 4 Yards Tulle (for adult size you may want at least 6 yards)

  • Ribbon

  • Scissors


1.) Cut the ribbon the length of the waist measurement plus 15 inches. Tie knots in the ribbon 7 inches in from each end.


2.) Roll the tulle into a long tube and cut 4 inch pieces.


3.) Once your pieces are cut you should have a pile of  rolled tulle strips. Unroll a strip and fold it in half end touching end. If this is too long for your needs, you may want to cut at the half, making two strips.

4.) Taking a strip of tulle, fold in half (end touching end). Starting at one knot, put the loop/folded-end on the ribbon. Then pull the ends through the loop thus tying the strip around the ribbon.


[caption id="attachment_193" align="aligncenter" width="300" caption="Ends pulled through the loop"][/caption]


[caption id="attachment_194" align="aligncenter" width="300" caption="Pull tight to secure it"][/caption]


5.) Continue tying the strips around the ribbon until all are knotted on.


Viola! A Tutu. Tie around the waist of your little ballerina/fairy/princess.


[caption id="attachment_202" align="aligncenter" width="194" caption="What girl wouldn't be happy in a tutu!?"][/caption]


Things you can add:

Slippers

Lace Crown

Pipe Cleaner Crown

Sunday, October 3, 2010

Metamorphasis: Tablecloth To Skirt

When the local secondhand store has its annual half off everything sale, it's like a holiday. I call my mom to make sure she knows, and she excitedly calls up Grandma for the shopping trip.  Why would we be so thrilled to paw through racks of used clothing and wares? Because we are quilters. Quilters are the bloodhounds of the sewing world...we can smell a deal on fabric a mile away!

The store is full of ladies that think it's Christmas and their husbands that wonder why they bothered to come along (there's nothing that would interest them...like fishing lures).  As I'm looking at each sheet, drape, and blanket, something catches my eye... a pretty denim-blue border. "That would make a pretty skirt!"  It turned out to be a rectangular tablecloth.

Here's how I used that tablecloth to make a fun and flow-y skirt:


Here you see the border that caught my attention. It's so pretty, but still casual. As you can see I got a great deal on it, too!

1) First things first. It was a rectangle, and I wanted to keep the corners, but I needed to square it up so it wasn't lopsided. There was also a stain in the middle.  So I measured, and then cut a chunky strip from the middle so that when I sewed it back together it would be a square. (If you're piece of cloth is already square you can skip right to the next step.)


[caption id="attachment_20" align="aligncenter" width="300" caption="Chunky strip cut from the middle"][/caption]

I then sewed the two pieces together.

2)  Now for the waist. This was to hang like a simple circle skirt. That means you are going to cut a circle from the center for your waist. The easiest way to do that, is to fold the tablecloth in quarters just as you would to find the exact center, and cut only a quarter circle through all layers. But where do you cut? Here's the fun (read: get out your calculator) part...

To make the cut for your waist, use this formula: Measure your hips; Multiply your hip measurement by 3.14; divide by two. The quotient will be how far down you measure from the corner (the exact center). Make markings as shown and you will be able to cut a perfect quarter circle.

[caption id="attachment_21" align="aligncenter" width="300" caption="Here you see a template for cutting a regular circle skirt. In the upper right is illustrated where you measure and cut for the waist."][/caption]

**Thanks to www.indietutes.blogspot.com for this Illustration**

When you unfold, after cutting, you will have a circle. To finish, I simply sewed in casing and elastic to cinch the waist. That's it!

[caption id="attachment_22" align="aligncenter" width="300" caption="Finished product. I really like how leaving the corners kept all the boarder intact and gives the skirt a Flamenco feel."][/caption]


Add to FacebookAdd to DiggAdd to Del.icio.usAdd to StumbleuponAdd to RedditAdd to BlinklistAdd to TwitterAdd to TechnoratiAdd to Yahoo BuzzAdd to Newsvine