Showing posts with label Beginner. Show all posts

Monday, March 28, 2011

Quilt in a Weekend: Pinwheel Crib Quilt, or Wall Hanging

    As my siblings, cousins, and I all get a little older there has been a lull in the births in the family, so we were very excited to learn of a new little bundle of joy on the way. One of the things I just love to make is a baby quilt. It's a quick project and when else can you use those cutesy fabrics?

  Since cousin A. is expecting a little lad, I delved into my blues and greens and decided to put together a pinwheel quilt.

Pinwheel blocks are a good way to use up scraps, and they can be whimsical or even kind of posh. I've used this pattern to make a previous baby quilt, as well as a pillow and a couch throw.


   Here is the fabric pallet I chose:


1.) What makes this an easy block is a simple trick to making Half Square Triangles. So to start, cut your squares 7/8 of an inch larger than you want your finished square to be. I am cutting mine 4 7/8 inches, 12 squares each of 4 fabrics.


3.) Lay one square on top of the other (right sides together) and mark the center from corner to corner.


3.) Use this mark as a guideline to sew 1/4 inch away on either side.


By the way, this is a great time to use chain piecing.


4.) When all the pieces are sewn on both sides of the center line, cut on that center line, press open, and you will have two half Square Triangles.


5.) Arrange your pieces in the pinwheel pattern.


(Tun the pieces a little and you could also make the Broken Dishes pattern.)


6.) Sew your pieces together in sets (top, and bottom two) and press.


7.) Then sew these two sets together, press, and trim up the sides. As we learned with the Valentine's Heart Pillow: sloppy sides make for sloppy projects.


8.) Arrange in the order you desire.


9.) Cut the short sashing, 3 inches wide by the length of your blocks (3in.X8in. for mine), and sew to the bottom of the blocks **except for the bottom row**.


10.) Cut long sashing strips to go between the rows, 3in. wide by the length of the row. I like to cut the strips a couple of inches longer than the row just to make sure I have enough.


11.) Using the same method, cut and sew 3in.-wide strips to frame in the blocks:

First the top and bottom


Then the long sides


12.) Then layer with your batting and backing, and baste or pin together (more on the layers and basting).


13.) Quilt or Tie


14.) Then finish off with the binding.


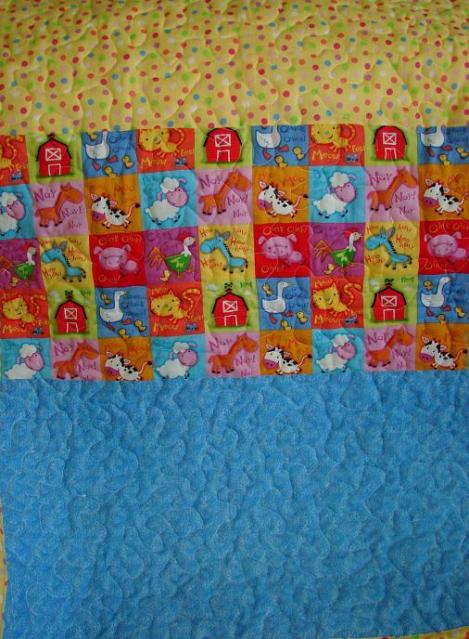
View of the back


I can't tell you how much I love this one. I'm not bragging, I just get a kick out of seeing it all come together and imagining the joy and warmth it will bring.

Friday, December 10, 2010

Quilt in a Weekend: Part 2

 I hope you all dug right in and started planning (if not sewing) your Quarter Trip Quilt. I would love to see pictures, and would even post them for everyone's inspiration!

So today we are discussing the backing and quilting methods.

Backing

First question: Why is it the quilt top, and the quilt back? Wouldn't it be either the quilt top and the quilt bottom  or the quilt front and the quilt back?

It's one of life's mysteries... like where that one sock disappears to in the dryer, or how many licks it takes to get to the center of a Tootsie Pop. The world my never know...

So. Backing material. I have seen some lovely (and not so lovely) pieced backs.
A pretty pieced back from www.sillydreamer.wordpress.com


If that floats your boat, go for it. My personal preference is one piece of fabric, and bed sheets are the perfect item for a seamless back. (If you look in second-hand/thrift stores or yard sales, you are likely to pick up whole -still packaged- sets for less than $10.00.)

My quilt is 66 inches X 73 inches (17 blocks X 19 blocks), yours may be slightly larger or smaller depending upon the width of the fabric you chose. I just happen to have a Double size sheet that will work very nicely.
My Sheet as well as the Batting


Putting it all together

Hand Quilting Methods
Once you have your backing ready, you can put the quilt sandwich together. Lay the back down, wrong-side up, then the batting, then the top (right-side up).


To secure all these layers you can either pin it in various places...


...or Baste it together with wide placed, long stitches (these stitches are removed after the quilting process).


Here is the proper direction your basting stitches should go:

(basting is also helpful if you are machine quilting with a hoop)

Now you are ready to quilt! 

 Quilting Options
 The three methods of quilting, or stitching your layers together, are Tying, Hand Quilting, and Machine Quilting,
Tying, is quick and simple. You make a small stitch in various places (your choice of placement) on your quilt, and tie the Embroidery Floss or Yarn you are using in a knot.


Hand Quilting is usually done in a certain pattern, by stenciling a design on the quilt with fabric chalk, then Hooping the quilt (or putting it on a large stretcher) and hand stitching over those lines. 
The handy work of Elaine at Elaine's Quilty Shop.
As you can imagine, this is not done very fast, and would take you more than a weekend. I have done this on a couple small quilts I made for my sons, but it's not my favorite method.


Machine Quilting (my preference) can be done on many of today's sewing machines, but since I haven't done this except for straight lines on a baby quilt, I'm not the one to advise about that. Here are instructions that may be helpful, if you would like to try quilting with your domestic sewing machine.

Lucky for me, my Grandmother owns a Long-Arm Quilter, and that is my tool of choice. So for my Quarter Trip, I will be taking it to her house and free motion quilting. Something like this...


There you have it. Hopefully, you're brain is churning with ideas and plans.

Next Step: Binding to be posted Monday


Wednesday, December 8, 2010

Quilt in a Weekend: A Quick, Strip-Pieced, Beginners, "Quarter Trip"

If you have ever wanted to make a quilt, but it seems so daunting you just never tried... this is the tutorial for you.

Based on the "Trip Around the World" quilt which features squares in a radiating diamond pattern...
(From Michelle at: www.custommemoryquilts.com)

... a "Quarter Trip" is squares going on a diagonal (as would be one quarter of the diamond pattern).


Here's what we'll be making:


Now if you're looking at that picture and thinking of all those squares you would have to cut and sew each of those four sides, quit. There is a very simple way to put it all together. If you have the time, you may even be able to get the top together in a day.


What You'll Need:
  • 9 Fabrics, 1/2 yard each
  • A Cutting Mat and Rotary Cutter
  • A Sewing Machine (of course)
  • Thread
 Note: Take the time to iron your seams. It will make everything easier to work with as well a a beautiful finished product.

My Fabric Selection


1.) First, cut the fabric into 4 1/2 inch wide strips.


2.) Sew your strips together at the short ends, so you end up with 9 long strips (one for each fabric). **See Tip below for a time and thread saver**
Notice I'm starting below the selvage.


3.) Decide in what order you want your fabric to go.


4.) Sew these 9 strips together, going down the length, creating one large piece with 9 stripes.


(One Large Piece)

5.) Cut across the strips, at 4 1/2 inches.


6.) Sew these strips at the short ends, making one very long piece.


**Time and Thread Saving Tip: When sewing multiple strips like this, I like to...

(leaving the portion already sewn in the presser foot) take the top strip you've just sewn and flip the end over...


...lay the next strip on top and stitch, feeding it in directly after the previous one.


Repeat and you will have a long chain connected like this:


Just cut the thread between...


A Super Long Piece of Squares

7.) Here's where the magic happens. Take a look at the first square, rip the seam after the third of these.
Mine starts with the dark blue square, so I count: 1,2,3 blue squares and then take the seam apart.


8.) This sets you up for the next row. My second row starts with the kitten fabric, so I rip the seam at the third of those blocks.
You can see how the blocks start to go diagonally.
Continue in this fashion until your entire quilt top is laid out.


9.) All that's left is to sew these strips together.


Before you know it, you have made a beautiful quilt top!
Close-up


Next blog, I'll talk about finishing options.