
So today we are discussing the backing and quilting methods.
Backing
First question: Why is it the quilt top, and the quilt back? Wouldn't it be either the quilt top and the quilt bottom or the quilt front and the quilt back?
It's one of life's mysteries... like where that one sock disappears to in the dryer, or how many licks it takes to get to the center of a Tootsie Pop. The world my never know...
So. Backing material. I have seen some lovely (and not so lovely) pieced backs.
 |
| A pretty pieced back from www.sillydreamer.wordpress.com |
If that floats your boat, go for it. My personal preference is one piece of fabric, and bed sheets are the perfect item for a seamless back. (If you look in second-hand/thrift stores or yard sales, you are likely to pick up whole -still packaged- sets for less than $10.00.)
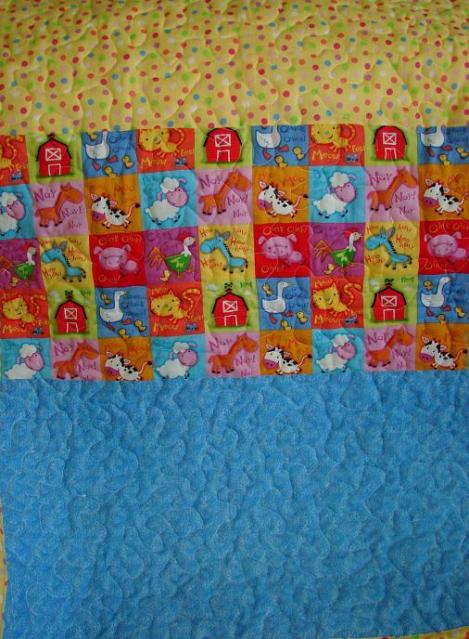
My quilt is 66 inches X 73 inches (17 blocks X 19 blocks), yours may be slightly larger or smaller depending upon the width of the fabric you chose. I just happen to have a Double size sheet that will work very nicely.
 | ||
| My Sheet as well as the Batting |
Putting it all together
Hand Quilting Methods
Once you have your backing ready, you can put the quilt sandwich together. Lay the back down, wrong-side up, then the batting, then the top (right-side up).

To secure all these layers you can either pin it in various places...

...or Baste it together with wide placed, long stitches (these stitches are removed after the quilting process).

Here is the proper direction your basting stitches should go:

(basting is also helpful if you are machine quilting with a hoop)
Now you are ready to quilt!
Quilting Options
The three methods of quilting, or stitching your layers together, are Tying, Hand Quilting, and Machine Quilting,
Tying, is quick and simple. You make a small stitch in various places (your choice of placement) on your quilt, and tie the Embroidery Floss or Yarn you are using in a knot.


Hand Quilting is usually done in a certain pattern, by stenciling a design on the quilt with fabric chalk, then Hooping the quilt (or putting it on a large stretcher) and hand stitching over those lines.
 |
| The handy work of Elaine at Elaine's Quilty Shop. |
As you can imagine, this is not done very fast, and would take you more than a weekend. I have done this on a couple small quilts I made for my sons, but it's not my favorite method.
Machine Quilting (my preference) can be done on many of today's sewing machines, but since I haven't done this except for straight lines on a baby quilt, I'm not the one to advise about that. Here are instructions that may be helpful, if you would like to try quilting with your domestic sewing machine.
Lucky for me, my Grandmother owns a Long-Arm Quilter, and that is my tool of choice. So for my Quarter Trip, I will be taking it to her house and free motion quilting. Something like this...

There you have it. Hopefully, you're brain is churning with ideas and plans.
Next Step: Binding to be posted Monday
No comments:
Post a Comment