Showing posts with label quick easy. Show all posts

Friday, January 28, 2011

From Frumpy Sweatshirt to Cozy Wrap-Quick Fix!


I can not believe the things I find at the Dollar Store these days! I bought two of these sweatshirts with plans of making one of those pretty and cozy wraps.


First, I cut the front off of one sweatshirt following the side, sleeve seam, and shoulder seam.


On the second shirt, I cut straight up the sides through the sleeves, and then across the top just under the collar.


Then, putting the bottom edge ribbing of Piece 1/Sweatshirt 2 on the collar of Sweatshirt 1, sew the short end to the first sweatshirt following the side and sleeve seam. I found it fit better if I cut the remainder sleeve off of the piece where I sewed it. I think you will see what I mean when you put this together.
Bottom Ribbing at the Collar of Sweatshirt #1


Sew both pieces on this way.

That's as easy as it gets! I trimmed a little from the front bottom edge of the two pieces for my own tastes (and height).

Monday, November 22, 2010

Thanksgiving Napkin Rings (Kid Friendly Craft)


Continuing with the Better Homes and Gardens Holiday Crafts Kids Can Make book (could they have picked a longer title?), today we do the multicolor corn napkin rings. I think these are very cute and a great addition to the harvest theme.


You Will Need:
  • Multicolored Corn (used for harvest decor)
  • Cardboard Tubes- TP tubes or Paper Towel tubes (you will get about 4 rings from a TP tube and 11 from a Paper Towel tube)
  • Tacky Glue
  • Glitter if Desired
  • Scissors
  • Measuring Tape
  • Small Paint Brushes
  • Newspaper and other mess containment items (I found a pizza box works wonderfully!)


1.) Remove the corn from the cob.I find this easy to get started by holding the kernels with one hand around the cob and turning the cob with the other hand... like a twisting or wringing motion.


2.) With the measuring tape mark the tubes at one inch intervals.


3.) Cut the tubes at the one inch marks to make rings.


4.) Paint the tacky glue onto the cardboard rings, and apply the kernels. We did this in sections, but whatever way works best is the way you should do it..

(Be advised that with young children-4 and under- the kernel placement will not be this neat. ;) )


5.) When the outer surface of the ring is covered as much as you can, you either just let it dry or place it in a baggy of glitter and roll/tilt gently to fill in the gaps.

(You may also cut strips of felt and glue them to the inside of the rings if so desired)


After the glue dries you have a lovely Thanksgiving Napkin Ring!

Thursday, October 7, 2010

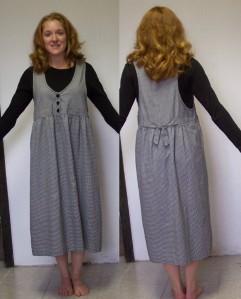
A Quick Update: Bringing a 90's Jumper into the 21st Century

Why was this ever fashionable!?


When I see jumpers, I think of 3rd grade teachers from the 90's, and mothers of  15+ kids. Really they do nothing for anyone's shape.  So, what shall we do with these out of touch garments? Let's bring it up to to date with a quick make over.

1.) The first thing I did was fix the length. I put it on and pinned it up until I liked where the hem laid, then cut it about an inch longer.


Pinned up


Cutting up


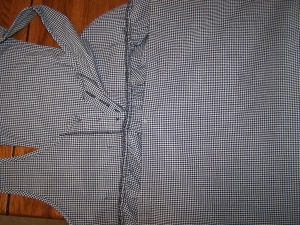
2.) The next thing was that lovely neckline. Removing the buttons and pinning the straight edges back was the key to making a jumper go from flop to pop.


I then stitched the new neckline down.

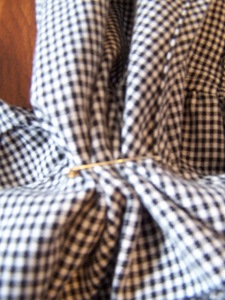
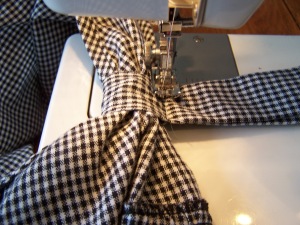
3.) Now for the back. One way to mix it up is to cinch and secure it with a pin, easy enough. I wanted a small band pulling the back in, so I  removed the ties and used one to make the band, and cut off the extra length. I then turned it inside out so the seam would be hidden.


Pinch and Cinch a la New Dress A Day


Making of the Band


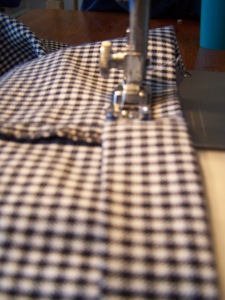
4.) All that's left is sewing the new hem (I like to do this step last, just in case I have to take in the sides first). I use my iron to fold the hem edge up, then stitch.


That's all it takes to go from drab to fab! I paired it with a belt to up the cuteness factor. Check out the new look:


What do you think? Are there items shoved to the back of your closet that could use a fresh look?