[caption id="attachment_47" align="aligncenter" width="224" caption="Sorry about the picture quality. I couldn't find a good one online."]
 [/caption]
Now, I could have bought this for $2. But why buy it when I already have everything I need to make it at home? So I snapped a quick picture using my phone.
To make this cutie you will need:
- A scrap of fabric 14.5 in. X 17 in
- Dinner Plate
- Small (bread) Plate
- Strong Thread or Embroidery Floss
- Needle
- Stuffing
- Something for a Stem (I just picked up a stick in my backyard)
- Hot Glue Gun
- Trim Pieces (ribbon, raffia, etc)
**This may seem like a long list, but as I said, most crafters will have these things already. If you do not, a quick trip to your local craft store will supply what you need.
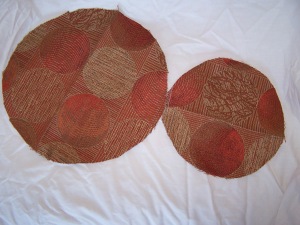
1.) On the back (wrong side) of your fabric trace two circles using a dinner plate and a smaller/bread plate. You should have a big circle and a slightly smaller circle. I was given some fabric swatches from a furniture store, so I will be using one of those.
[caption id="attachment_48" align="aligncenter" width="300" caption="If you should be able to trace both circles on one piece of fabric."]
 [/caption]
2.) Cut out your Circles.
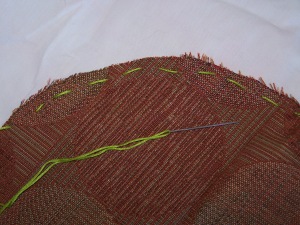
3.) Using the thread or floss, sew a loose gathering stitch near the edge, all the way around the largest circle.
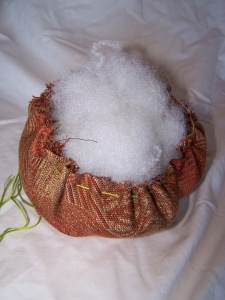
4.) Pull the thread to gather the edge together, leaving enough room to place some stuffing inside.
5.) Pull the thread to gather it tight, leaving an opening about two finger's width (one finger's width for the small circle). Secure it with a couple more stitches and a knot. Finish stuffing, you want it to be somewhat firm.
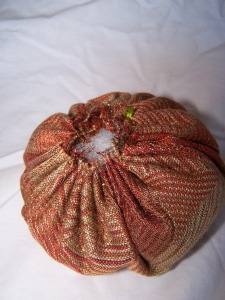
Repeat steps 1-5 for the small circle, and you will have this:
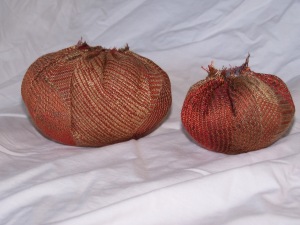
Now to assemble your Pumpkin Stack.
1.) Place hot glue on the end of your stem piece (sticks look wonderfully natural) and place in the top hole of the smaller pumpkin, into the stuffing.
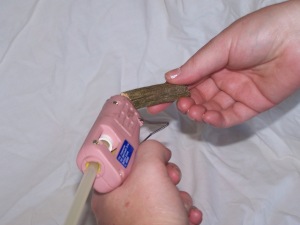
2.) Place hot glue around the opening of the larger pumpkin, and place smaller pumpkin on top.


3.) Finish off the top with Raffia, Ribbon, or whatever your little heart desires.
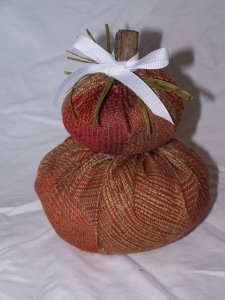
My boys, ranging in age from 4-10 all loved making this. I just had to do the sewing and gluing for the 4 yr. old. If you make one of your own, I'd love to see it!
Linked On:


No comments:
Post a Comment