You Will Need:
- A Plastic Bottle (2-Liter soda bottles work well)
- Fabric
- Trim
- Glue Gun
- Rubber band
- Ribbon
- Stuffing
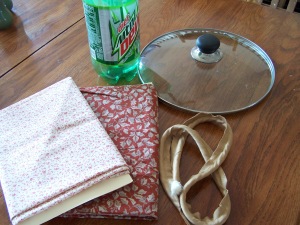
1.) Cut 2 circles from your fabric. I used a 13 inch pot-lid to trace them out, but I found it was just a little smaller than I wanted. I suggest a circle with a 15 inch diameter.

As you can see I chose 2 coordinating fabrics
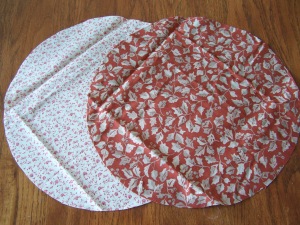
2.) I find it easier to work with if I sew the trim to the right side of one circle...

3.) ...then sew the second circle to the first one (right-sides together), sandwiching the trim between the two pieces. Leave a few inches unsewn and turn right-side out. (P.S. If you don't have a piping foot, a zipper foot is very helpful)

*************************************************************************************
No-Sew Instructions:
1.)Iron a quarter-inch fold, towards the back, around the edges of both circles.
2.) Hot glue the trim to the back (wrong side) of one circle
3.) Then glue the second circle wrong-sides together to the trim, leaving a portion of the edge open to stuff.
************************************************************************************
4.) Stuff lightly.
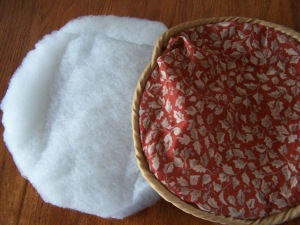
5.) Cut the bottom off of the soda bottle about 4 or 5 inches up. The bottom will be your basket.
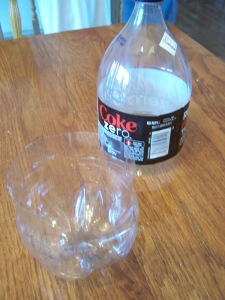
6.) Cut a strip of fabric long enough to cover the circumference of the bottle, and 8 inches wide. Hot glue this piece to the outside of the bottle, then fold to the inside of the bottle and glue down.
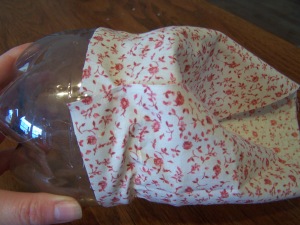
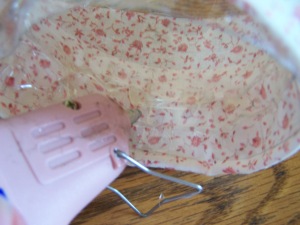

7.) Place the bottle on the center of the stuffed circle. Gather the circle upward and secure with the rubber band.
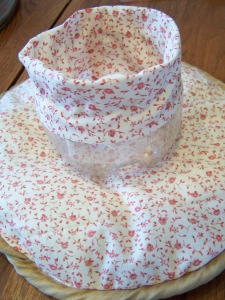
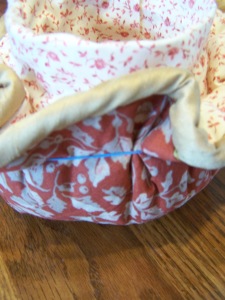
8.) Cover the rubber band with a ribbon.

9.) Fill with whatever goodies you like: flowers; candy; potpourri; tea and crackers; soup mix; etc. Wouldn't this be a great gift basket or craft/party favor?

I filled mine with the lovely Coffee Filter Flowers I made (yes, I said those flowers were MADE) from Aunt Peaches' Blog.


I am sooo gonna do this ,I love it
ReplyDeleteThat is super ultra cute! Thanks for the no-sew version for me. I love how the trim ruffles out in a wave. It looks so complicated!
ReplyDeleteWhen I was in high school, I made one of these for my grandma using an ice cream bucket. I'd forgotten all about it until now!
ReplyDeleteThat's what I love about this...looks like you've spent hours on it, but it really is so simple! Thanks! :)
ReplyDeletegorgeous...great job...
ReplyDeleteThank you!
ReplyDeleteOh hey! I followed the link back to my flowers... Or now I should say YOUR flowers... They look fantastic!! And I love the vase... What a fab idea! Hard to believe it's so simple. I'll be bookmarking :)
ReplyDeleteThanks. I showed the flowers blog to my mother and she took the supplies to a women's retreat. Everyone loved making them! I'm planning on doing your flower lanterns, too. :)
ReplyDelete